How to Sync Stripe Data to PostgreSQL in 5 Minutes (No Code)
How to sync Stripe data to PostgreSQL in 5 minutes - no code, no webhooks. Works with Supabase, Neon, Railway, and any PostgreSQL database.
If you've ever tried to build analytics on your Stripe data, you've probably hit the same wall: the Stripe API is great for transactions, but terrible for queries.
Want to know which customers signed up last month and haven't made a purchase? That's multiple API calls, pagination handling, and probably some rate limit errors along the way. Meanwhile, the same query in SQL takes about 10 seconds to write.
The Problem
Joining Stripe customer data with your own user tables usually means setting up webhooks, designing schemas, and handling edge cases. It can easily take a week of work just to get something basic running.
There are tools that solve this. In this post, I'll walk through using Codeless Sync—it connects to your PostgreSQL database and pulls in your Stripe data so you can query it directly.
The Walkthrough
Here's how to set it up. The whole process takes about 5 minutes.
1. Start the Configuration Wizard
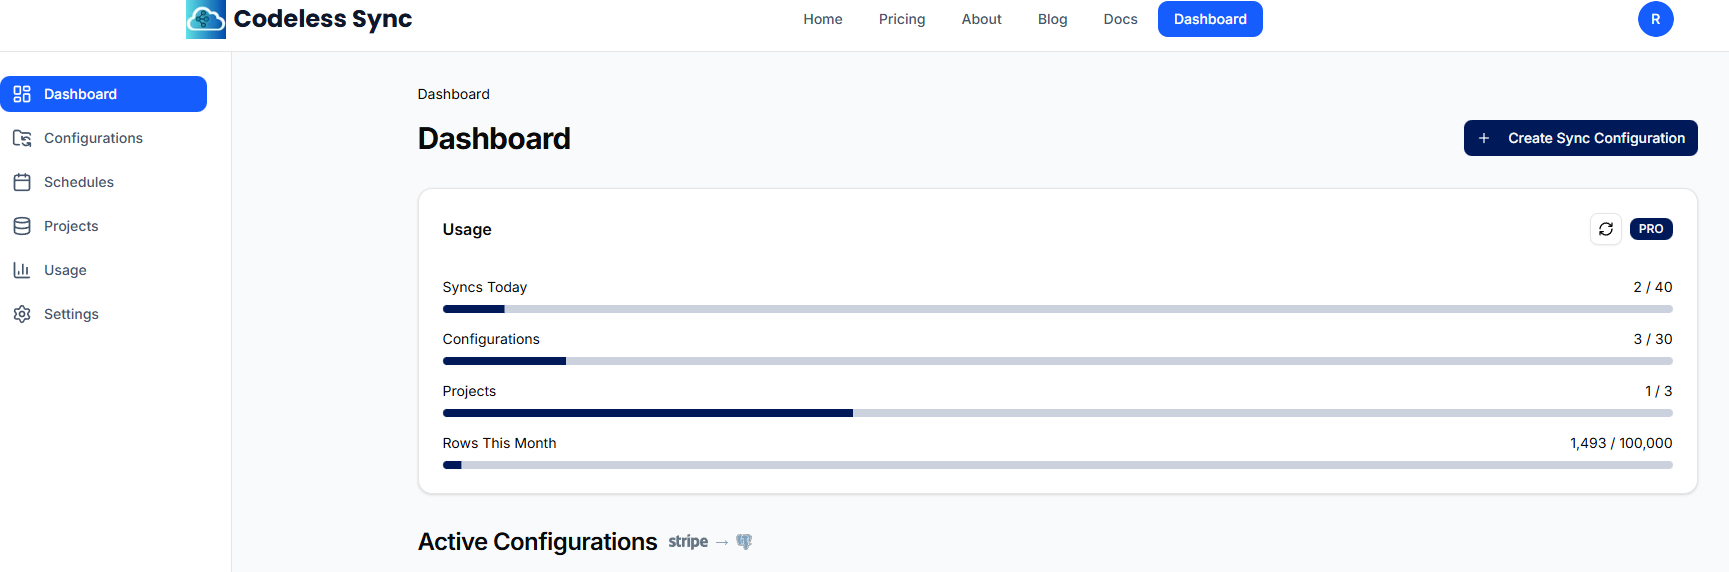
Log into your Codeless Sync dashboard and click Create Sync Configuration. This opens a 5-step wizard that walks you through the setup.
2. Select Provider & Data Type
First, you pick what data you want to sync:
- Provider: Select Stripe
- Data Type: Choose what to sync (Customers, Subscriptions, and more)
I'd recommend starting with Customers for your first sync—it's usually the simplest to verify.
3. Connect Your Database
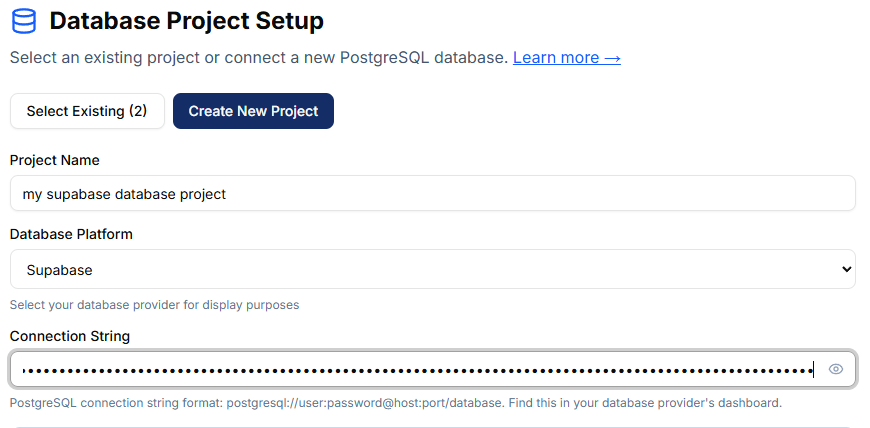
Next, connect to your PostgreSQL database. If you've already added a project, select it from the dropdown. Otherwise, click New Project and enter your connection string.
If you're using a managed provider, here's where to find your connection string:
- Supabase: Project Settings → Database → Connection string → select Transaction Pooler → copy the URI and replace
[YOUR-PASSWORD]with your database password - Neon: Dashboard → Connection Details
- Railway: Your PostgreSQL service → Connect tab
- Render: Database → Info → External Database URL
4. Add Your Stripe Key
Enter your Stripe API key. I'd recommend using a restricted key (rk_test_ or rk_live_) with read-only access—you don't need write permissions for syncing data out.
Find your keys in the Stripe Dashboard under Developers → API Keys.
Click Test Connection to validate the key before continuing.
5. Create the Table
Now you need a table in your database to hold the data. You can either:
- Click Auto-Create Table to have it created automatically
- Copy the SQL template and run it yourself if you prefer more control
After creating the table, click Verify Table to confirm it exists.
6. Name & Create
Give your configuration a name (something like "Production Customers" or "Test Invoices") and review your settings. Click Create Configuration to finish.
7. Run Your First Sync
Back on the dashboard, find your new configuration and click Sync Now. Depending on how much data you have, this could take anywhere from a few seconds to a few minutes.

8. Query Your Data
Once it's done, open your database client and run some queries:
-- Customers from the last 30 days
SELECT id, email, name, created
FROM stripe_customers
WHERE created >= NOW() - INTERVAL '30 days'
ORDER BY created DESC;

-- Join with your own users table
SELECT u.id, u.email, sc.stripe_id, sc.created as stripe_created
FROM users u
LEFT JOIN stripe_customers sc ON u.email = sc.email;
That's it. Your Stripe data is now queryable alongside everything else in your database.
When This Makes Sense
This approach works well when you need to:
- Run ad-hoc queries against your billing data
- Build reports or dashboards
- Join Stripe data with your own tables
- Avoid hitting Stripe's API rate limits repeatedly
It's not a replacement for webhooks if you need real-time event handling (like sending emails when someone subscribes). For that, you still want proper webhook integration.
Keeping Data Fresh
For one-off analysis, a manual sync is usually fine. If you need the data to stay current, scheduled syncs can run hourly or daily.
The sync is incremental after the first run, so it only fetches records that have changed since the last sync.
Codeless Sync has a free tier if you want to try it out: codelesssync.com
Related:
Video Tutorial
Prefer watching? Here's the full walkthrough:
Questions or feedback? Feel free to reach out. If you found this helpful, you can try Codeless Sync for free.